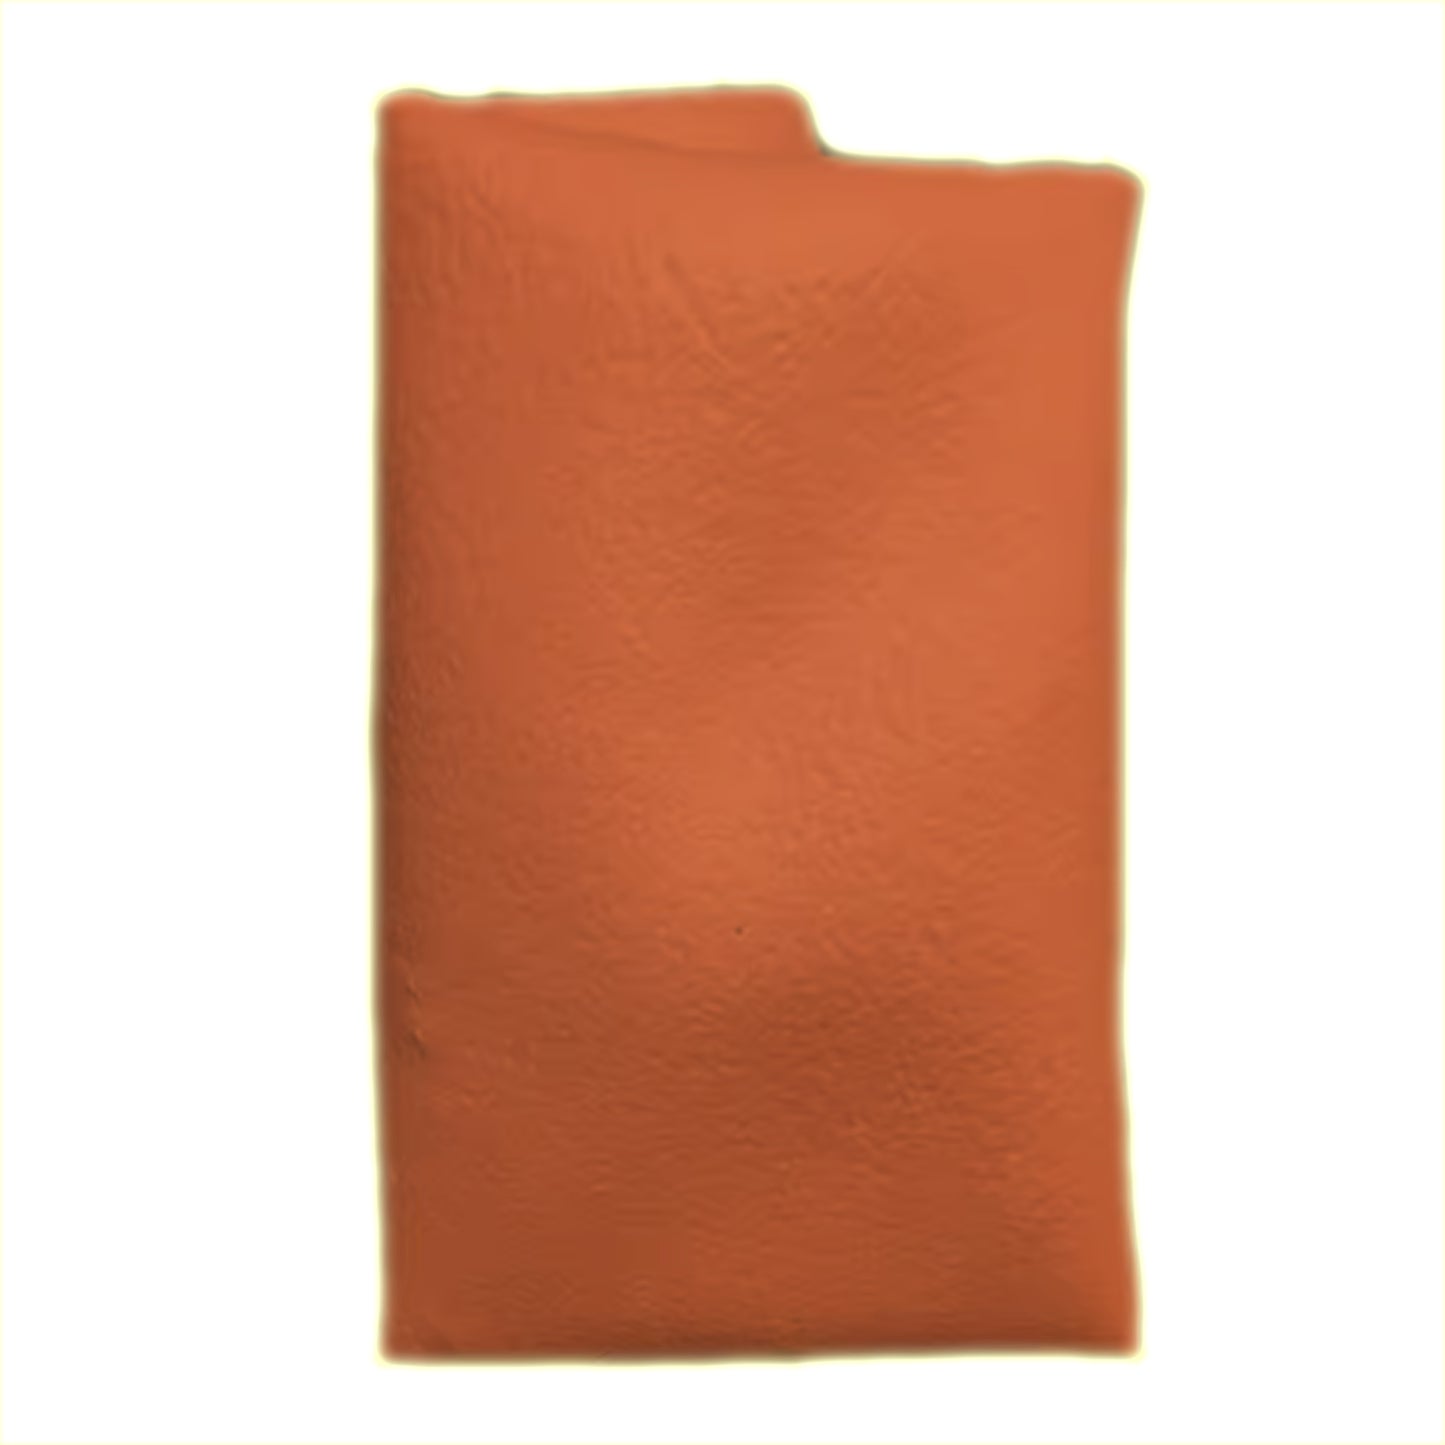
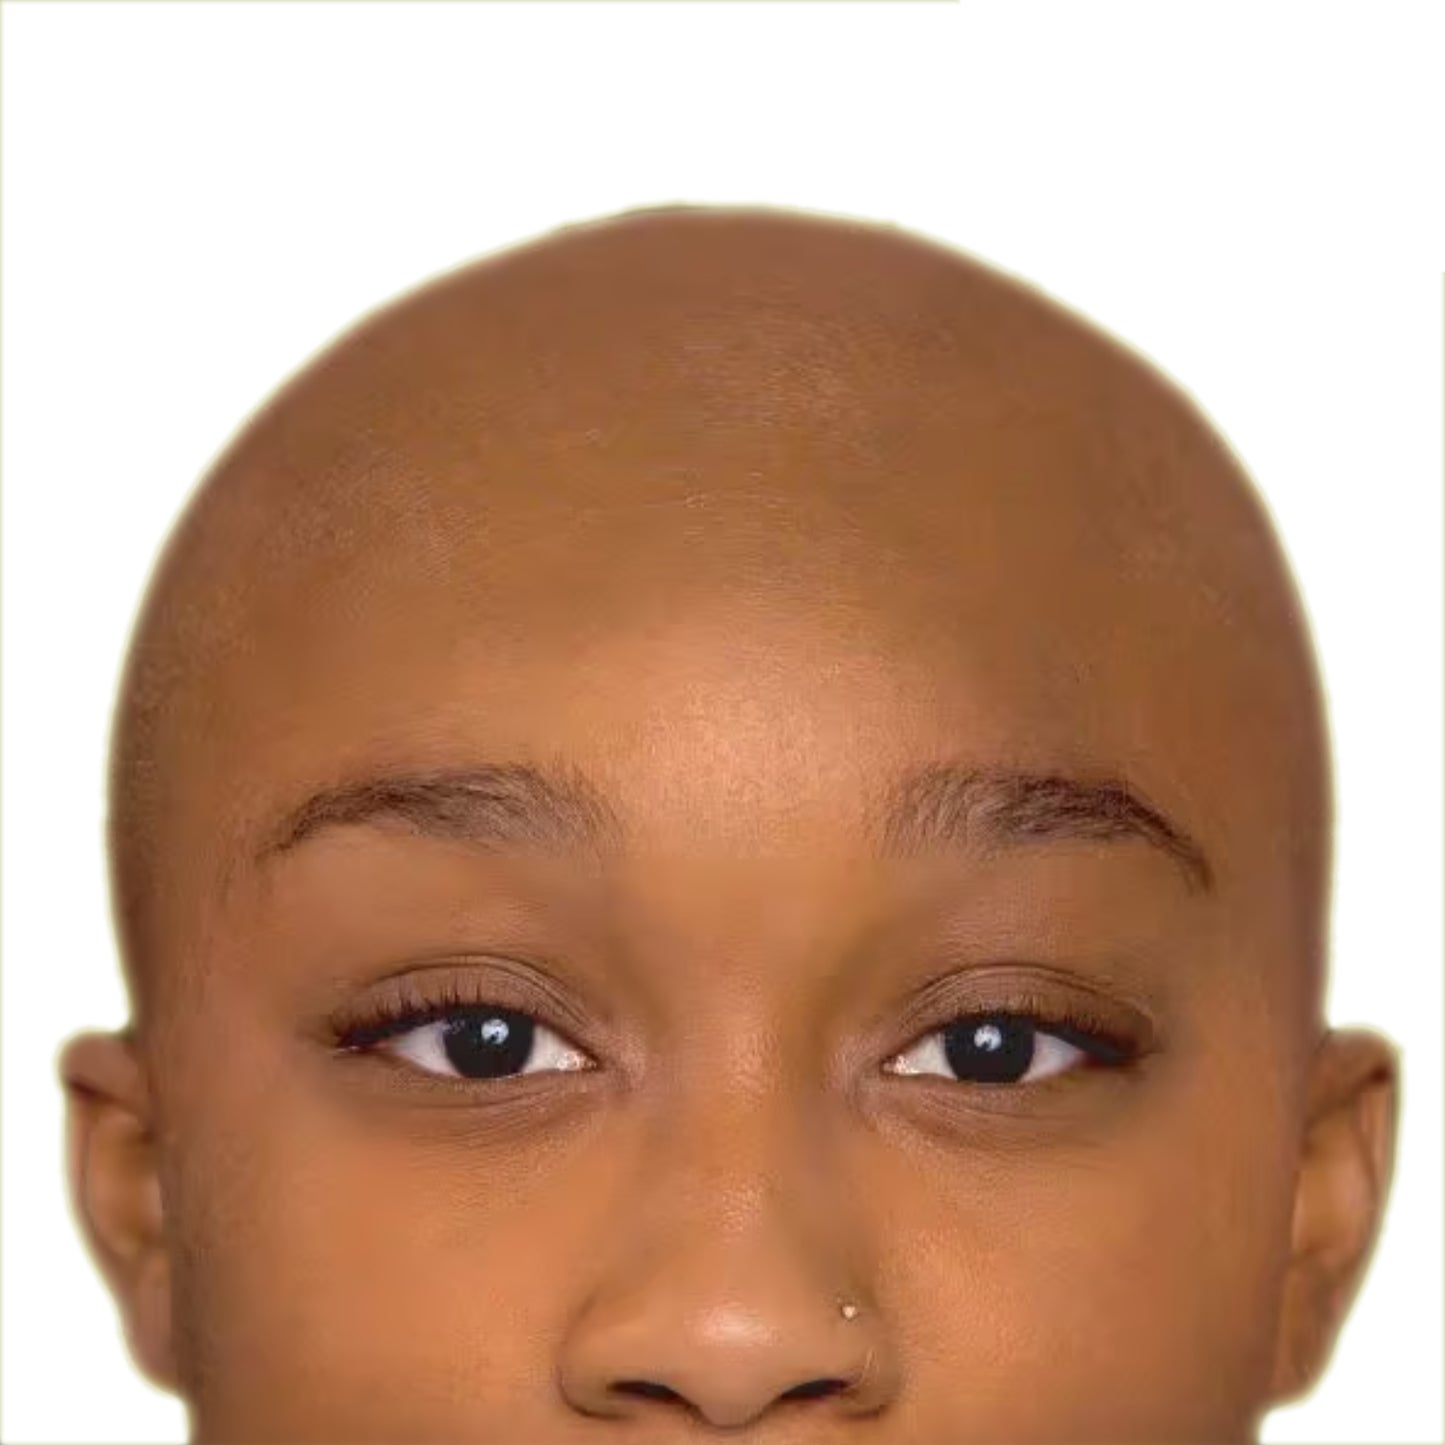
Bald Cap - Dark Brown
Bald Cap - Dark Brown
SKU:12846
Low stock
Couldn't load pickup availability
Bald Caps
Properly applying a realistic-looking bald cap can be one of the most difficult techniques to master. In some cases slipping on a simple Novelty Bald Cap is good enough, in others complex shading and details are necessary to create realism. Know beforehand what exactly you need to accomplish and plan accordingly. Be sure you have everything you need on hand and give yourself plenty of time to work.
Preparation
Begin by combing back your subject's hair as flat as possible using water or an alcohol-free gel. If your model has longer hair tuck the ends under their clothing and use a bald cap with a longer nape (Woochie, Kryolan) instead of trying to pin the hair on top of their head. Next, you will need to trim the cap to the proper size. Position the cap evenly on the head and smooth out any wrinkles and creases, if you need to you can use a blow dryer on a low setting to relax any creases. With a water washable marker draw a light line on the cap around the ears and the forehead as necessary, be sure to leave yourself room to adhere the cap to the skin (about half an inch) so be careful not to cut away too much. Once you have the size you need to remove the cap and carefully cut off the excess.
Application
Once the cap is positioned on the head fold back small sections and apply Spirit Gum starting at the forehead, press the cap firmly to the skin. Then have your subject tilt their head back and apply adhesive to the back of the neck, pull the cap tight and stick it firmly to the skin. This should help to prevent wrinkles from forming at the back of the neck. Next, apply adhesive behind the ears and continue this process until you have glued all the way around.
Please note: For some applications simply gluing down the cap may be enough to suit your needs. If so you can proceed to makeup if necessary. For a more realistic looking bald cap please read how to blend the edges.
Blending
This step is not always necessary but will make your prosthetics look much more realistic. Stipple on a thin layer of Pros-Aide Creme or Liquid Latex around the edges of the prosthetic to blend the edges into the skin. You can decrease drying time by using a blow dryer on a low setting. Apply thin layers until the ridge along the edge of the prosthetic has been blended into a seamless finish. We recommend using Pros-Aide Cream over liquid latex because unlike latex it can be removed with certain adhesive removers.
Makeup
The character you are trying to create will play a big part in the makeup you choose. For characters like Shrek or Blue Man Group that are one solid colour a water or creme based makeup works well. For creating realistic-looking bald heads we recommend the Graftobian Bald Cap Rubber Mask Grease Wheel, it has several skin tone shades that can easily be mixed together, as well as colours suitable for creating veins and capillaries.
- Creme Based Makeup like Ben Nye's Wheels or Creme Liners are the most common. They blend extremely easy for realistic looking effects and are a great choice for different cuts and wound effects. If you choose to use cream makeup keep in mind that they can discolour when used over latex-based products including Woochie, Rubber Wear, and Don Post prosthetics or if you have used liquid latex to blend over the edges of your prosthetic. You can prevent discoloration by applying a thin layer of Castor Sealer over the entire prosthetic, blot off any excess and then Powder to set before applying makeup. This is not necessary if you are using a plastic-based prosthetic like Watermelon.
- Rubber Mask Grease is a castor oil-based creme makeup works similar to other creme makeups but is designed to work over latex products without the need to add more castor sealer to prevent discoloration.
- Water-Based Makeup or face paint are easy to use and very gentle on the skin. They are great for solid colours like green witches or for use on young children. Water-based makeup can be more susceptible to sweating or rubbing off so a Makeup Sealer like Final Seal may be desired for added durability and protection against smudging.
- Alcohol Based Makeup like Skin Illustrator or Reel Creations are the most durable and realistic makeup. The makeup is applied using 99% alcohol and goes on more translucent so it can be easily layered for effects that look under the skin instead of on top of the skin. Once applied they are incredibly durable, water and smudge resistant, and can last a few days with proper care. Alcohol-based makeup is harder to work with than creme or water-based makeup so it's not recommended for beginners.
Blood
Once the makeup is finished apply Blood as a finishing touch if necessary. Thick blood is great for using inside gouges and wounds to create texture and depth, they can also create small scrapes. Stage blood drips for fresh-cut effects.
Removal
Remove makeup with a Makeup Remover. Then using a brush or cotton swap slowly work your Adhesive Remover underneath the edges of the prosthetic until the glue softens and you can peal the piece away, see your adhesive for a list of appropriate removers. Then clean your skin to remove any remaining traces of adhesives and makeup. Be sure to clean off the prosthetic as well. Rubber latex prosthetics are fairly durable and can be reused many times as long as you are gentle and treat them with care. Foam latex is very delicate and can be damaged easily, remove with care.
Questions
If you have any questions or are unsure about any steps involved with applying a prosthetic appliance please feel free to contact us.
Share


